Happy Holidays. I hope everyone is having a wonderful December. I am in full swing decorating, baking and knitting...so more posts should be coming up very soon.
I even decided to put a tree in my bedroom as well. Really getting into the holiday spirit. Here is the little tree on my nightstand. Yes it's blue... I decided I would have a blue Christmas. Actually the tree (Target) matches my room decor. Love the polar bear topper I put up (Costco ornaments) and I got those Mickey bulb ornaments last year at Disneyland. Anyway have a magical and crafty holiday.
Tuesday, December 4, 2012
Wednesday, October 10, 2012
Crazy Baking Marathon
So I volunteered to help prepare food for about 60-70 people for my club meeting. I really should be careful what I volunteer to do, because I always stress myself out. I did the table center pieces, pumpkin soup, now all was left was the baking. How hard would that be to bake. It was not very hard actually, though it was very TIRING. So I baked 72 pumpkin cupcakes and about 90 cookies. For the cupcakes I would pop the in the oven 24 cupcakes at a time. In the afternoon I worked on the sugar cookies. It's always a pain when cutting cookie shapes because the dough gets soft and mushy so I had to pop it in the fridge constantly. In the end I am happy with the results. Here is all the baked goodies on my table.
![]() |
| All baked goodies |
| 70 cupcakes |
| Halloween cookies |
I will be posting recipes soon. In the rush to finish I forgot to take pictures of the steps. I think the most important thing I learned was how to organized my time. Toward the middle I had a great flow. Haha I could have been wearing pearls, heels and an apron. It actually became that effortless. Though it wasn't without some cons. I realize I am glad I don't do this for a living...my back would have revoulted against me if I had to do this every day, but every once in a while it is possible to accomplish. But don't expect me to be volunteering to do this again anytime soon. I need at least 6 months before I take this challenge on again. Thanks for reading. Hope you are enjoying October.
Tuesday, October 9, 2012
October nights and pumpkins
Pumpkin Soup
It's finally starting to feel chilly in Southern California and when I mean chilly I mean it's in the 70s. For the longest it's been in the 90s and I have been wearing flip flops and dresses. Well to celebrate the dip in the temperature I decided to make Pumpkin Soup.
Soups are the easiest thing to do in my opinion. You can make a giant pot and you have soup on hand for a few days.
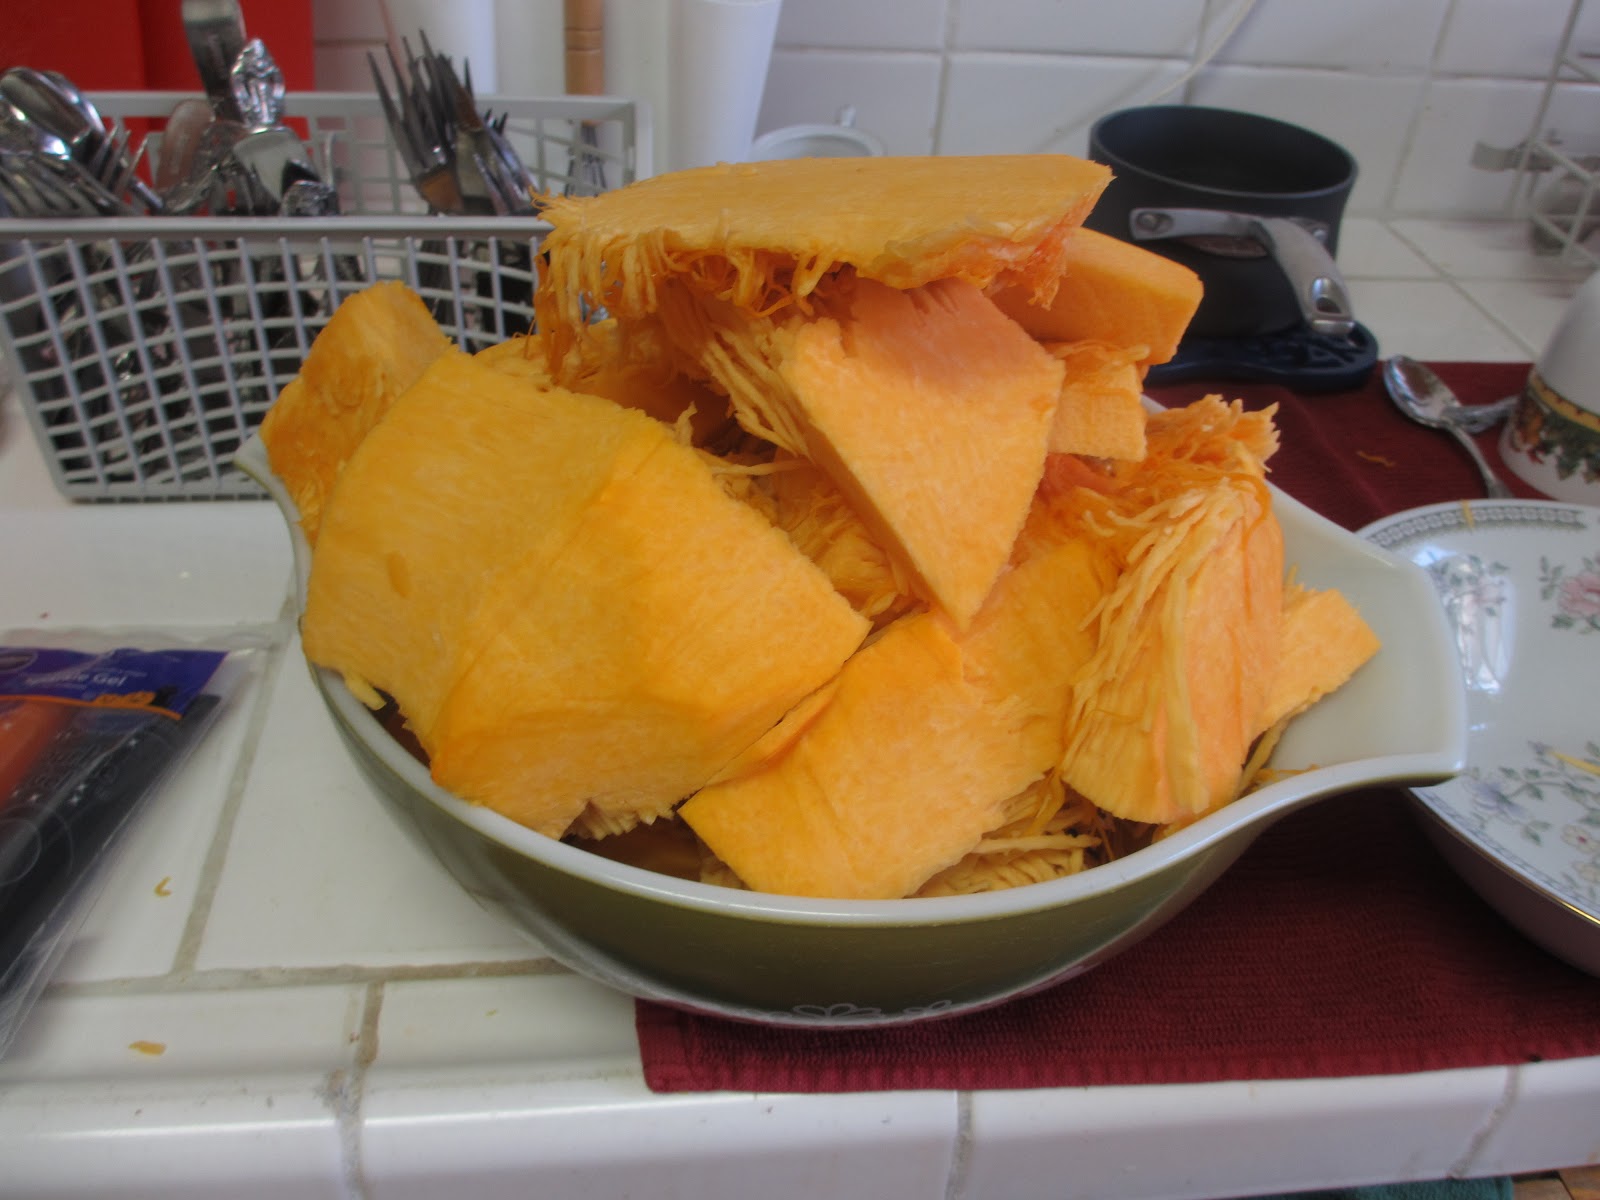
I got a good medium size pumpkin and cut it up and peeled it. This is the hardest part and I honestly feel that I got such a good arm workout I am skipping my arm exercises for today.
I actually cooked the pumpkin in two batches. You can save half of the uncooked pumpkin and freeze or just cook it and freeze the soup.
2 shallots chopped (you could use half an onion instead)
3-4 cloves of garlic
4-6 cups of pumpkin
2 cups of vegetable broth
seasonings of your choice (I like salt, pepper, ginger, and curry)
Heat oil, shallots, and garlic for a few minutes in the pot. Add pumpkin, cover with lid for about 5 minutes, while you heat the broth. Add hot broth. Cook for about 30-40 minutes. (Test to make sure the pumpkin is soft like a potato you were to mash) Use a hand held blender and blend in the pot. You can use a regular blender if you want a super smooth consistency. There you have it...a warm cup of Pumpkin Soup perfect for October.
If you like to add some cream or parsley to garnish that would be a nice touch. Hope you enjoy October with a warm cup of soup.
It's finally starting to feel chilly in Southern California and when I mean chilly I mean it's in the 70s. For the longest it's been in the 90s and I have been wearing flip flops and dresses. Well to celebrate the dip in the temperature I decided to make Pumpkin Soup.
Soups are the easiest thing to do in my opinion. You can make a giant pot and you have soup on hand for a few days.
I got a good medium size pumpkin and cut it up and peeled it. This is the hardest part and I honestly feel that I got such a good arm workout I am skipping my arm exercises for today.
I actually cooked the pumpkin in two batches. You can save half of the uncooked pumpkin and freeze or just cook it and freeze the soup.
Pumpkin Soup
1 TBSP of oil2 shallots chopped (you could use half an onion instead)
3-4 cloves of garlic
4-6 cups of pumpkin
2 cups of vegetable broth
seasonings of your choice (I like salt, pepper, ginger, and curry)
Heat oil, shallots, and garlic for a few minutes in the pot. Add pumpkin, cover with lid for about 5 minutes, while you heat the broth. Add hot broth. Cook for about 30-40 minutes. (Test to make sure the pumpkin is soft like a potato you were to mash) Use a hand held blender and blend in the pot. You can use a regular blender if you want a super smooth consistency. There you have it...a warm cup of Pumpkin Soup perfect for October.
If you like to add some cream or parsley to garnish that would be a nice touch. Hope you enjoy October with a warm cup of soup.
Wednesday, October 3, 2012
The Witching Hour
Halloween Witch Hat
So I have been made in charge of table setting for the month of October for this club I belong to. So glad I have October, because Halloween is my favorite holiday. I wanted to do something than the usual potted plant that the others usually do for table setting. I found these cardboard witch hats at Michael's they were on sale for $2.25 (they maybe even cheaper at the end of the month)
| Here is Figaro ready to help! |
| Start painting the hat. I just poured the paint in the cup. Be sure to cover your work surface with newspaper or plastic. This is a bit messy. |
| All the hats are painted black. Time to start decorating. |
|
|
| I added orange dots by dipping the tip of the handle in orange and just dabbing the brim of the hat. |
| Just add glue and sprinkle glitter |
| Figaro is inspecting the hats. He is quality control...so it's his job to make sure everything is puurrrfect (sorry for the cheesy joke) |
Friday, August 17, 2012
Something Old, Something New, Something Blue
Lately I have been in the mood of turning old things into something new. I recently acquired a hand me down bedroom set from my parents. Hey we have a bad economy and I am not going to be buying new furniture. Plus the furniture I acquired was real wood furniture not the plywood crap they sell at certain stores that you can put together. I decided to turned some old pieces of furniture into something new and well I love blue so thought I would add a small blue detail. It just gives it a unique and customize look...totally an original piece.
Here is what the dresser looked like before. Very nice, but not my taste. (Sorry I don't have good picture should have taken one before the redo began)
I had the pieces, the dresser and the nights stand painted with primer and then a high gloss white. The handles which were gold hardware I painted with blue spray paint (I made the mistake of forgetting premier, it turned out ok but if I primed it would have been better). I love white and blue together...gives it a Wedgewood feel. Here is the finished product.
I love using accent pieces that are blue and white next to my night stand. My magazine storage bin actually came from Costco and it came with two- one small which you see here and a large striped one.
I hope that this gave you some ideas and you revamp that old piece of furniture into a awesome statement piece. Thanks and stay crafty :)
Here is what the dresser looked like before. Very nice, but not my taste. (Sorry I don't have good picture should have taken one before the redo began)
I had the pieces, the dresser and the nights stand painted with primer and then a high gloss white. The handles which were gold hardware I painted with blue spray paint (I made the mistake of forgetting premier, it turned out ok but if I primed it would have been better). I love white and blue together...gives it a Wedgewood feel. Here is the finished product.
I love using accent pieces that are blue and white next to my night stand. My magazine storage bin actually came from Costco and it came with two- one small which you see here and a large striped one.
I hope that this gave you some ideas and you revamp that old piece of furniture into a awesome statement piece. Thanks and stay crafty :)
Monday, August 6, 2012
Jacket Makeover to Dye for!
I absolutely love this jacket. I bought it years and years ago at Anthropologie on sale. Love their sales! It was this light blueish gray to begin with but over the years sadly it has faded to a whitish grey. It just looks blah. So thanks to Pinterest I got this great idea to revamp my favorite jacket my dyeing it. I went to the craft store and picked up a package of RIT powder dye in the color teal, it was about $3. Not bad $3 and I will have a brand new jacket.
This is how it originally looked it's so pretty but the color is so dull.

Instructions
I used the bucket method. Use the method you feel more comfortable with.
I basically filled a 3 gallon bucket with hot water poured the powder dye added 1 TBSP of liquid detergent and stirred.
Wet your garment until it is throughly soaking wet. Put in bucket. Let it sit for as long as you desire, the longer the better as it will soak more color. I let my jacket sit for 30 minutes constantly stirring it around making sure is absorbed the color evenly. (It will appear really dark but once you wash it and dry it will be a lighter color)After 30 minutes rise in the sink with warm and gradually change to cold. Do this until the water is running clear free of any dye. Then wash it in the washing machine. I used a warm/cold cycle delicate setting. Then gave it a rinse in cold water. Then put it in the dryer. (The instruction for each method are on the package)
This is how it originally looked it's so pretty but the color is so dull.
I used the bucket method. Use the method you feel more comfortable with.
I basically filled a 3 gallon bucket with hot water poured the powder dye added 1 TBSP of liquid detergent and stirred.
Wet your garment until it is throughly soaking wet. Put in bucket. Let it sit for as long as you desire, the longer the better as it will soak more color. I let my jacket sit for 30 minutes constantly stirring it around making sure is absorbed the color evenly. (It will appear really dark but once you wash it and dry it will be a lighter color)After 30 minutes rise in the sink with warm and gradually change to cold. Do this until the water is running clear free of any dye. Then wash it in the washing machine. I used a warm/cold cycle delicate setting. Then gave it a rinse in cold water. Then put it in the dryer. (The instruction for each method are on the package)
| My new Jacket. Love how the color turned out. |
![]() |
| Best part it now matches my favorite shoes. Hope this post gives you some ideas how to revamp your favorite clothes. I am so happy I dyed my jacket, it looks better than I originally bought it :) |
Friday, June 1, 2012
Fudgy Cake Pops
Fudgy Cake Pop
These bite size cakes dipped in chocolate are to be a hit at your next party!
Ingredients
3/4 cup of semi sweet chocolate chips
1/2 cup of butter
3/4 cup of sugar
3 TBSP of cocoa
2 eggs
3/4 cups of flour
1/4 tsp salt
16 lollipop sticks
1 package of chocolate bark or candy melts
sprinkles, decorating sugar for decorating
| Preheat oven to 325 degrees and grease the cake pops pan. Melt the chocolate chips and butter on low heat until smooth |
Nothing is so great as bite size desserts. This recipe make the best cake pops ever and they are perfect for parties
Subscribe to:
Posts (Atom)